Showing posts with label chocolate. Show all posts

Thursday, March 12, 2015

Chocolate Bites - Cookies

What about chocolate to dip in the chocolate fondue, you ask? How about little chocolate cookies. Yum yum! I made these for our chocolate fondue night too. They were cute, but a little dry. I think it is because I used Dutch processed cocoa. Maybe I should use regular cocoa next time.


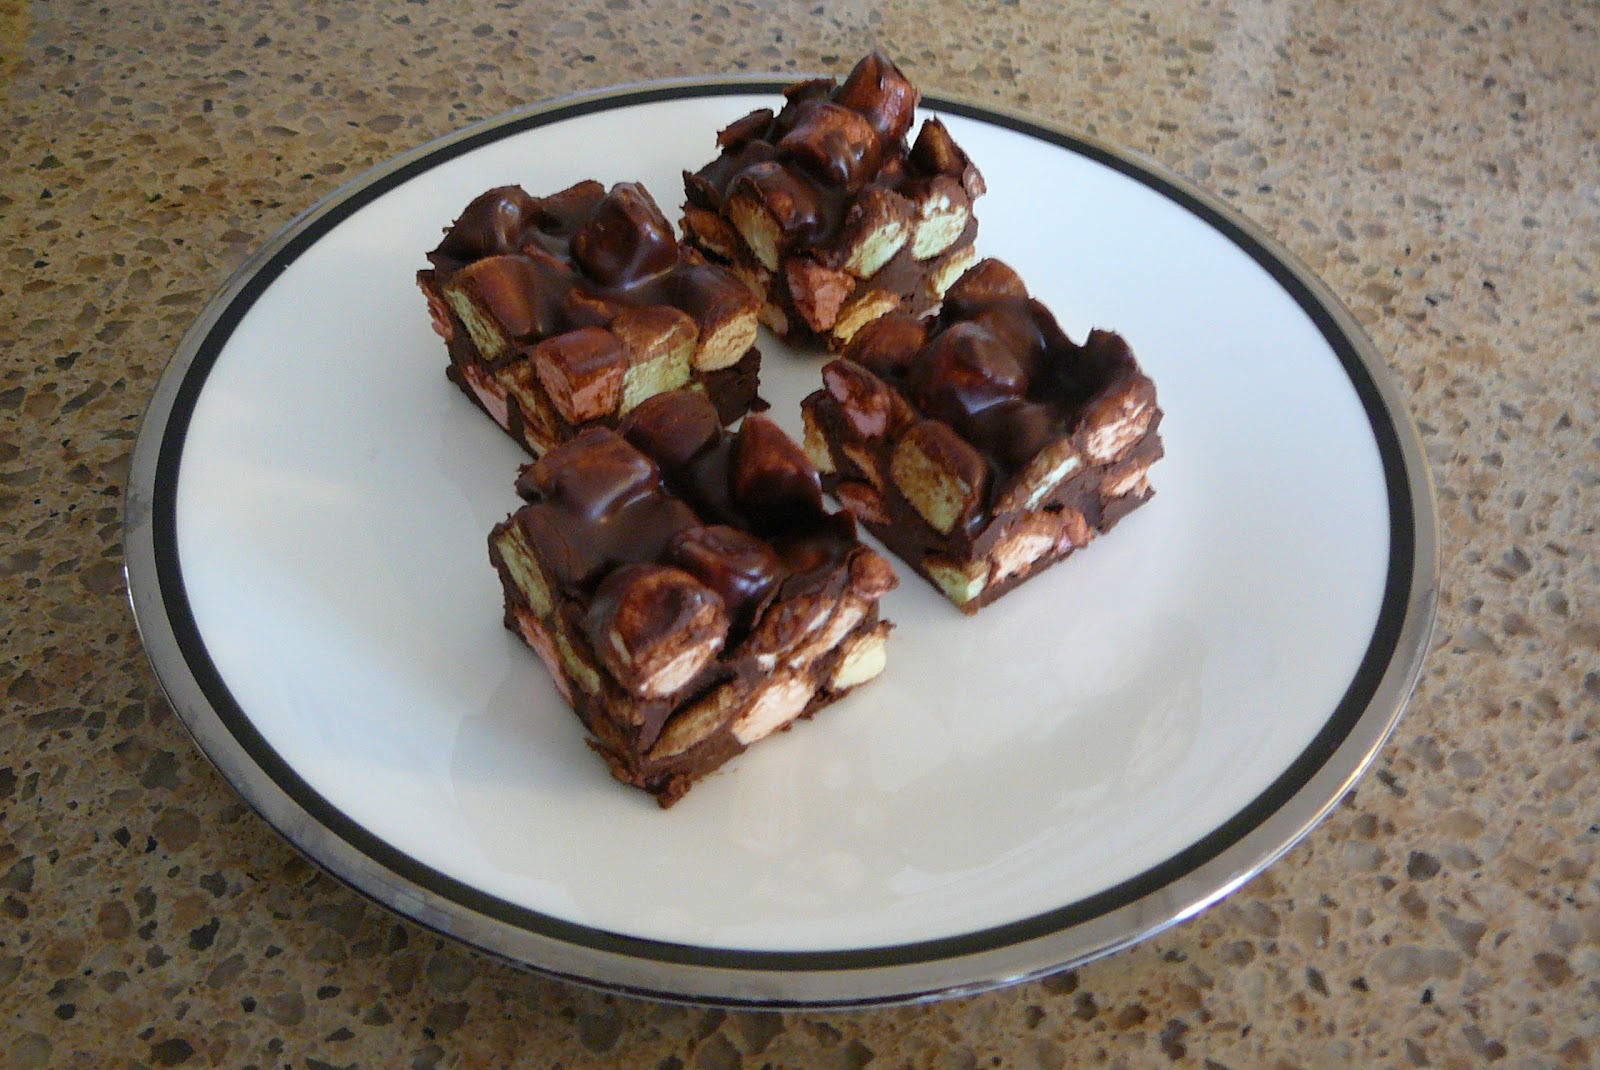
Chocolate Bites cookies
2 Tbsp. butter, softened
1/4 cup brown sugar, packed
1 egg, fork beaten
1 Tbsp. milk
2 Tbsp. cocoa
1/4 tsp. vanilla

1/2 cup flour
1/4 tsp. baking powder
1/8 tsp. salt

Cream butter, brown sugar, egg and milk together in medium bowl. Add cocoa. Beat until well mixed. Add vanilla. Stir.

Add flour, baking powder and salt. Mix. Drop by 1/2 tsp. onto greased baking sheet. Bake in 350 degree oven for about 10 minutes. The recipe says it makes 72 cookies but I only got 31 out of the recipe!

Sunday, February 8, 2015

No Bake Chocolate Peanut Butter Bars

I saw these and I knew right away I needed to make them. They came to me via a facebook post from a friend. She shared them from "High Protein Foods" on facebook. Don't your friends always know just what you need?


I must apologize to "High Protein Foods" because I am totally swiping their image but this is the most direct way to show you these wonderful, delectable, totally easy treat. Seriously. I had them made and my kitchen cleaned up in about 15 minutes. I swapped vegetable oil for the coconut oil because I had to have them NOW and I don't have coconut oil. I waited about 20 minutes for them to solidify enough to cut and had one. Amazing! I cut and pasted this from here. Go there. Tell them how wonderful their bars are. Enjoy!

The Best No-Bake Bars You'll Ever Eat! Clean and healthy as always.

It's still a dessert so eat in moderation!

1 cup natural peanut butter
1/2 cup honey
1/2 cup unrefined coconut oil (be sure to use unrefined for the coconut flavor)
2 cups dry oats (not instant)
1 C shredded coconut
1/2 C chopped walnuts (optional)
1 1/4 cups dark chocolate chips
1 t vanilla extract

Melt peanut butter, honey and coconut oil over medium-low heat. Once melted, remove from heat and add oats, shredded coconut, chocolate chips and vanilla. Stir until chocolate is entirely melted. Pour into a 9x13 pan and cool in the fridge. When it's set, cut into bars and enjoy. Store in the fridge. If they last that long!!!!!


Saturday, December 17, 2011

Choco-Cherry Supreme Cookies

One day closer to Christmas, and I made cookies for a cookie-exchange party today. They were fabulous!

Here is how you can make your own - and in time for Christmas too!

Choco-Cherry Supreme Cookies Recipe
1/3 cup softened butter
1/2 cup white sugar
1/2 cup brown sugar
1/3 cup milk
1 egg
1 tsp. vanilla
2/3 cup flour
1/2 cup cocoa                         
2 cups rolled oats
1/2 cup candied cherries
1/2 cup chocolate chips
1 1/2 tsp. baking powder  
1/2 tsp. salt                             

Cream butter and sugars together. Beat in the milk, egg and vanilla. Add the other ingredients and stir together until well combined. Drop tablespoon of dough on greased (or parchment lined) cookie sheet. Flatten slightly. If desired, top with a half cherry. Bake for 10 minutes at 375 degrees F. Yield: 30 cookies.

Enjoy!

Monday, April 18, 2011

Midnight Mints

These are probably my favorite squares. They are called Midnight Mints and they are the minty equivalent of the well-known Nanaimo Bar.
I love how mint and chocolate go together. Today I added a little more butter to the chocolate for the topping since it was looking a little too thick to spread - what a wonderful idea! It was totally spreadable and easier to cut than usual. I had frozen the bottom two layers for a few minutes before adding the chocolate top, which also helped spread the chocolate without getting the green mixing into it. I was very pleased with how these turned out. The ones in the photo are actually the "rejects" from the bunch that I froze for Easter dessert!

This recipe comes from the Company's Coming 150 Delicious Squares Cookbook again. It is on page 13. The crust is a hearty mixture of coconut, walnuts, graham cracker crumbs and cocoa, along with an egg, some butter and some sugar. It is not too time-consuming to make either, since the bottom gets cooked a little, but there is no baking involved. I'm sure my Easter company will love them!

What are your favorite squares? I'm planning to have a selection for Easter and all I can think of is chocolate, chocolate and more chocolate!

Sunday, April 10, 2011

Two layer Chocolate Birthday Cake

Here's the resulting two-layer Chocolate Birthday cake with Orange buttercream filling:

close-up of the chocolate icing before the banner went on.
It was awesome! Everything about it was delicious! Melody thought it was great. I loved the orange flavor in the filling and the new chocolate cake recipe was lighter than my old recipe. When I make this recipe again, I will put some of the chocolate chips deeper into the batter. I really liked the contrast of the white filling against the brown cake. Very nice.

It was a simple cake to decorate, since Melody wanted "just chocolate icing". I just spread it on roughly and poked in the fondant flowers I made a while ago and added a fondant banner that I piped with piping gel. I liked this cake. It had more cocoa than my other cake and tasted more chocolate-y. I certainly recommend it! Enjoy!


Saturday, April 9, 2011

Rich Chocolate Cake with Buttercream Filling

This is actually part one of the birthday cake for my soon to be 3 year old. The original recipe calls for peanut butter and milk chocolate morsels and a creamy peanut butter milk chocolate frosting.

 But, I followed my plan from yesterday and made it with chocolate chips instead. I had to trim the tops flat and that is where most of the chips were, sadly. Here's the recipe:

Rich Chocolate Cake
2 cups all purpose flour
1 3/4 cups sugar
2/3 cups cocoa
1 1/2 tsp. baking powder
1 1/2 tsp. baking soda
1/2 tsp. salt
1 cup milk
1 cup water
1/2 cup vegetable oil
2 large eggs
2 tsp. vanilla
2/3 cup chocolate chips

Preheat oven to 350 degrees F. Grease and flour two 9" round cake pans.
Combine flour, sugar, cocoa, baking powder, baking soda, and salt in a large mixer bowl. Add milk, water, oil, eggs, and vanilla. Blend until moistened. Beat for 2 minutes (batter will be thin). Pour into prepared pans. Sprinkle 1/3 cup chips over each cake layer.
Bake for 25 to 30 minutes or until wooden pick inserted in center comes out clean. Cool in pans on wire racks for 10 minutes; remove to wire racks to cool completely.

I did all that, and then I trimmed the tops flat (where most of the chips were, but I'll save those for later).
Then I filled it with orange flavored buttercream icing.

I'll show you how I finished it and decorated it tomorrow! I will also tell you how wonderfully delicious it was, I hope!

Sunday, April 3, 2011

Chocolate Confetti Squares

Tonight I wanted a little something for dessert so I found Chocolate Confetti Squares in the Company's Coming 150 Delicious Squares recipe book. Page 28. These were the perfect squares to please my sweet-tooth tonight! They were super easy to make, had only 4 ingredients and they were created, cooled and eaten all within one hour!
They had chocolate and peanut butter to hold the marshmallows together so they were a delight to eat, too. They were very messy if you eat them slowly with your fingers - they are not like M&M's... These DO melt in your hand! The family and I all thought they were awesome, and since marshmallows were on sale this week, even better!

Wednesday, March 23, 2011

Chocolate Oh Henry Squares

This was another delicious square from page 42 of the Company's Coming 150 Delicious Squares book. The hardest part of this recipe was lining the 9"x9" pan with graham crackers. 7 needed trimming and you had to do it twice; once for the bottom crust and a second layer to cover the chocolate and nut filling. Here's how it looked after the second layer of crackers:
I let this set up in the fridge while I prepared the icing for the top. It was a lot like my chocolate fudge icing and went on remarkably easily.

The squares turned out beautifully. They were delicious. They were even better the second day, when the crackers softened more and soaked up the chocolate flavors from the other layers. If you don't like nuts, you could probably make these without nuts. I liked them, but my youngest doesn't like nuts and just ate the icing off these squares and refused to eat the part with the nuts. The squares were soft and yet they stayed together quite well. My husband remarked, "Why haven't you made these before?" I don't know, but I will be making them again for sure!

Saturday, February 26, 2011

Peanut Butter Bars

This looked like a simple recipe for things I love - peanut butter and chocolate. How could I go wrong? So I made them. They are "Peanut Butter Bars" from p. 82 of "Company's Coming 150 Delicious Squares".
They were simple to make and they look and smell wonderful. However, the comments I left in the margin of the book were "Looks nice. Not very exciting to eat. Too smooth. Crust is rather pasty in the mouth." I don't really know if I can suggest a way to improve them - maybe add chocolate chips to the crust, I suppose. Enough chocolate fixes almost anything!

Tomorrow my parents come for a visit so I may not be back until Monday, unless I whip up something so wonderful that I just have to share it with you!

Monday, February 14, 2011

Happy Valentine's Day Cheesecake Pie

I was planning to do a beautiful 2-layer chocolate cake, covered in white fondant and little pink hearts but I went to bed last night with a slightly sore throat instead of making a cake. So, this morning, I scoured my cookbooks for something easier. Here is what I came up with:
It was from a cookbook called Nestle Classic Recipes. The recipe is called "No-Bake Chocolate Cheesecake Pie" (p. 89). I modified the recipe to fit my 7" heart pan, from the 9" round pan size they provided. It fit beautifully! Rather than a whipped cream topping, I went with strawberry slices. This was a delicious, thick cheesecake! I only needed a small piece to be satisfied. Yummy and super easy.
Happy Valentine's Day!

Thursday, February 10, 2011

Valentine Chocolate Cupcakes

As promised, here are some cupcakes that I made today. They were a hit. I made enough for all the children in my school children's classes (45) and 4 extra. My 4 children wanted to eat them all!
Once they were cooled, I covered them in chocolate butter cream icing and added fondant hearts.
Each cupcake has a monogrammed fondant heart with a child's initial. I used my Wilton press set of letters again. These were a lot of fun! I hope the children enjoy them tomorrow!
Happy Valentine's Day (a little early)!

Monday, February 7, 2011

Surprise Birthday Cake

This is the result of my finding out about a friend's birthday the day before it happens. What fun!


On Thursday evening, she invited me and a few friends over for coffee on Friday morning. So, I went to sleep thinking, "I should make a cake for her!" I woke with the children at 6am, fed them crepes like usual and started baking my standard chocolate cake at 7 am.

The cake was out of the oven and cooling in a snowdrift at 8:00. I made up a batch of chocolate fudge icing and a batch of buttercream icing while the cake baked. Then I hustled 2 children to the bus stop, filled the almost cool cake layers with the fudge icing and put the cake in the fridge. I took the third child to pre-school and returned to decorate the cake (I used the time in the van to think of how I would decorate the cake).

When I returned to my kitchen, I slapped on a crumb coat of buttercream and quickly rolled out the white fondant. I used the Wilton's "wide glide rolling pin" and their "roll and cut mat".  Those tools made my job easy. I used the Wilton "Italic Make Any Message Press Set" to imprint "Happy Birthday Melissa" on the white fondant. I rolled out a few pink fondant/gum paste hearts and a length of "ribbon" and applied them to the cake with a dab of water. My drive called saying she was on her way which meant I had 10-20 minutes so I added the blue piping at 9:30, to finish the cake. Melissa was very surprised and delighted!